Halloween will be here before you know it, and what better way to celebrate than by engaging in a fun activity with your child?!
Making this Halloween-themed play dough together is a great way to work on speech and language skills like sequencing, following directions, Halloween vocabulary, core vocabulary, constructive play skills, social communication, and much more!
Here’s what you need:
Ingredients:
-2½ cups flour measured, plus more for adding in later if needed
-½ cup salt
-3 tablespoons oil (canola will work)
-3 tablespoons cream of tartar
-2 cups water
-Red and yellow food coloring (or the color of your child’s choice)
-Optional – pumpkin pie spice
Other Materials:
-Large bowl
-Smaller bowls for measuring ingredients
-Spoon, whisk, or spatula to mix dough
-Visuals: You want to have out all the visuals that your child is currently using or working on using. A few great ones are: waiting, my turn, help, and more.
Steps:
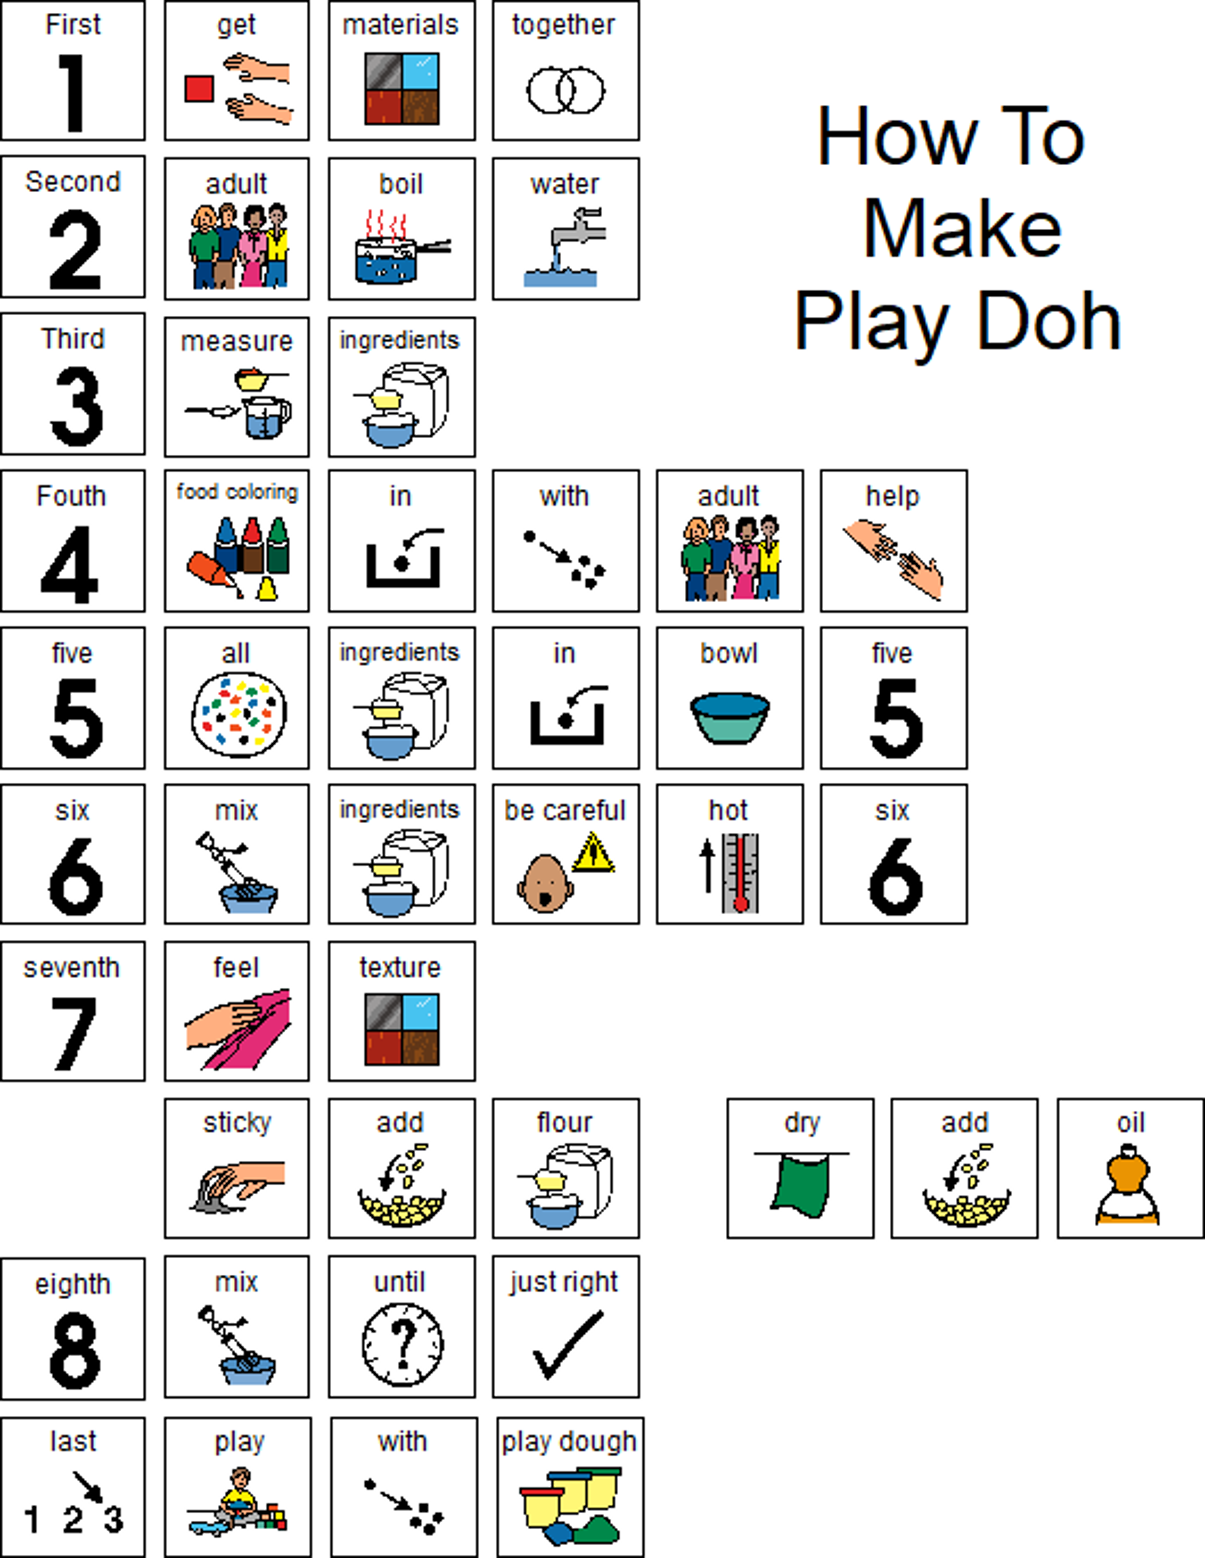
1. Get all of your ingredients out and ready to use. You can narrate where you are going to get each item (i.e., “Flour is in the pantry!” or, “We need water from the sink!”). Your child can help gather the materials. This is a great naturalistic activity that will help increase receptive language, following directions, independence and more.
2. Have an adult carefully boil the water. During this time you can have your child color/water paint/paint a Halloween (1 – 3) color pages while you wait for the water to boil.
3. With your child, measure all ingredients into separate bowls. Your child can help you either measure the ingredients; dump the ingredients in bowls, or both! Narrate or sing about what you are doing… “Put the salt in the bowl, in the bowl!” Remember, this increases their language!
4. Add food coloring to the water to reach your desired color. For fun, Halloween-themed orange play dough, add five drops of yellow food coloring and five drops of red food coloring. Stir with a spoon and adjust as needed. Remember to be careful – the water will be hot! Talk about the colors you are adding, then watch and enjoy the water change colors!
5. Put all of the ingredients in your large bowl. Start with the dry ingredients, then add in the liquid ingredients.
6. Grab a spoon or mixing tool and mix the play dough! A song will help a child attend to or participate within the task as well as comment about what you are doing… “This is the way you mix the dough, mix the dough, mix the dough. This is the way you mix the dough. Mix, mix the play dough!” An adult may check the temperature to see if it is safe to mix with your hands.
7. Check the texture of the play dough. If it’s too sticky, add more flour. If it’s too dry, add some oil. With an older child, this may be a great time to work on vocabulary to describe different textures as well as problem solve how to achieve the ideal texture.
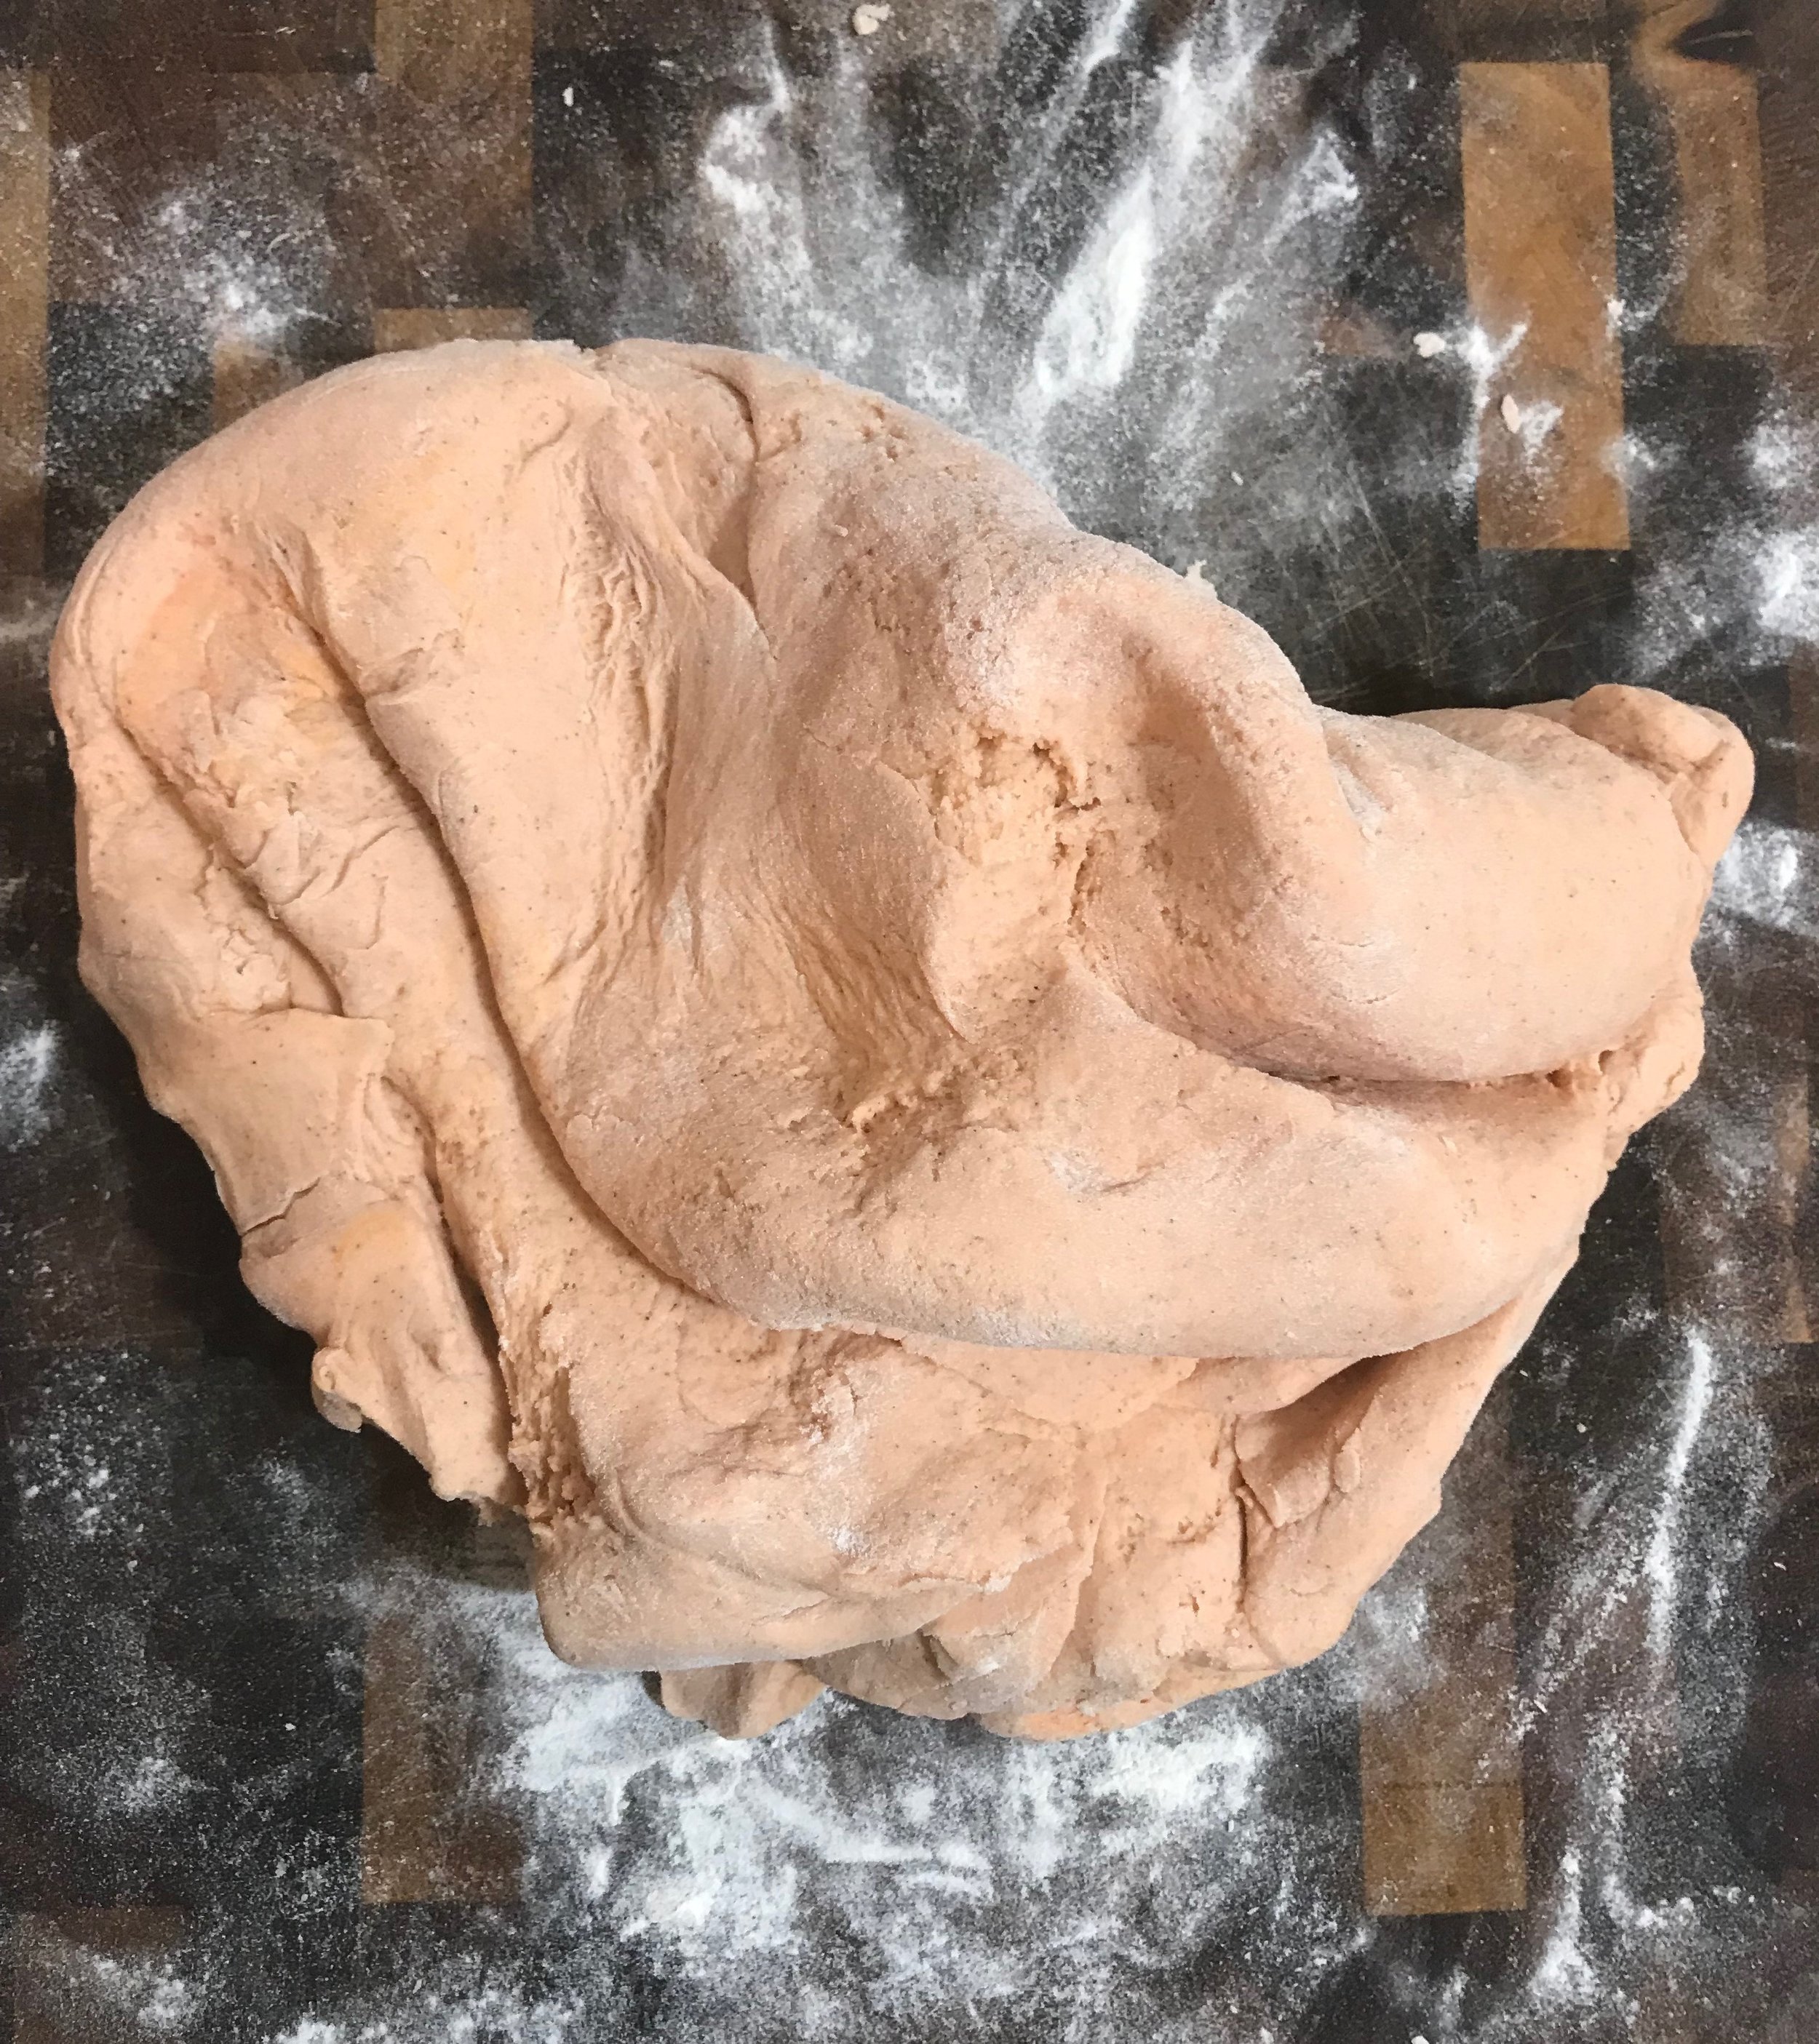
8. Knead the dough until all the flour is mixed in and the texture is not too sticky or too dry.
9. Let the dough cool.
10. While the dough is cooling off, clean up together! If you need more time then try to play Halloween Dress Up or a Halloween Game.
11. Finally, time to play!
Here are a few additional tips for encouraging speech and language within this activity:
General vocabulary:
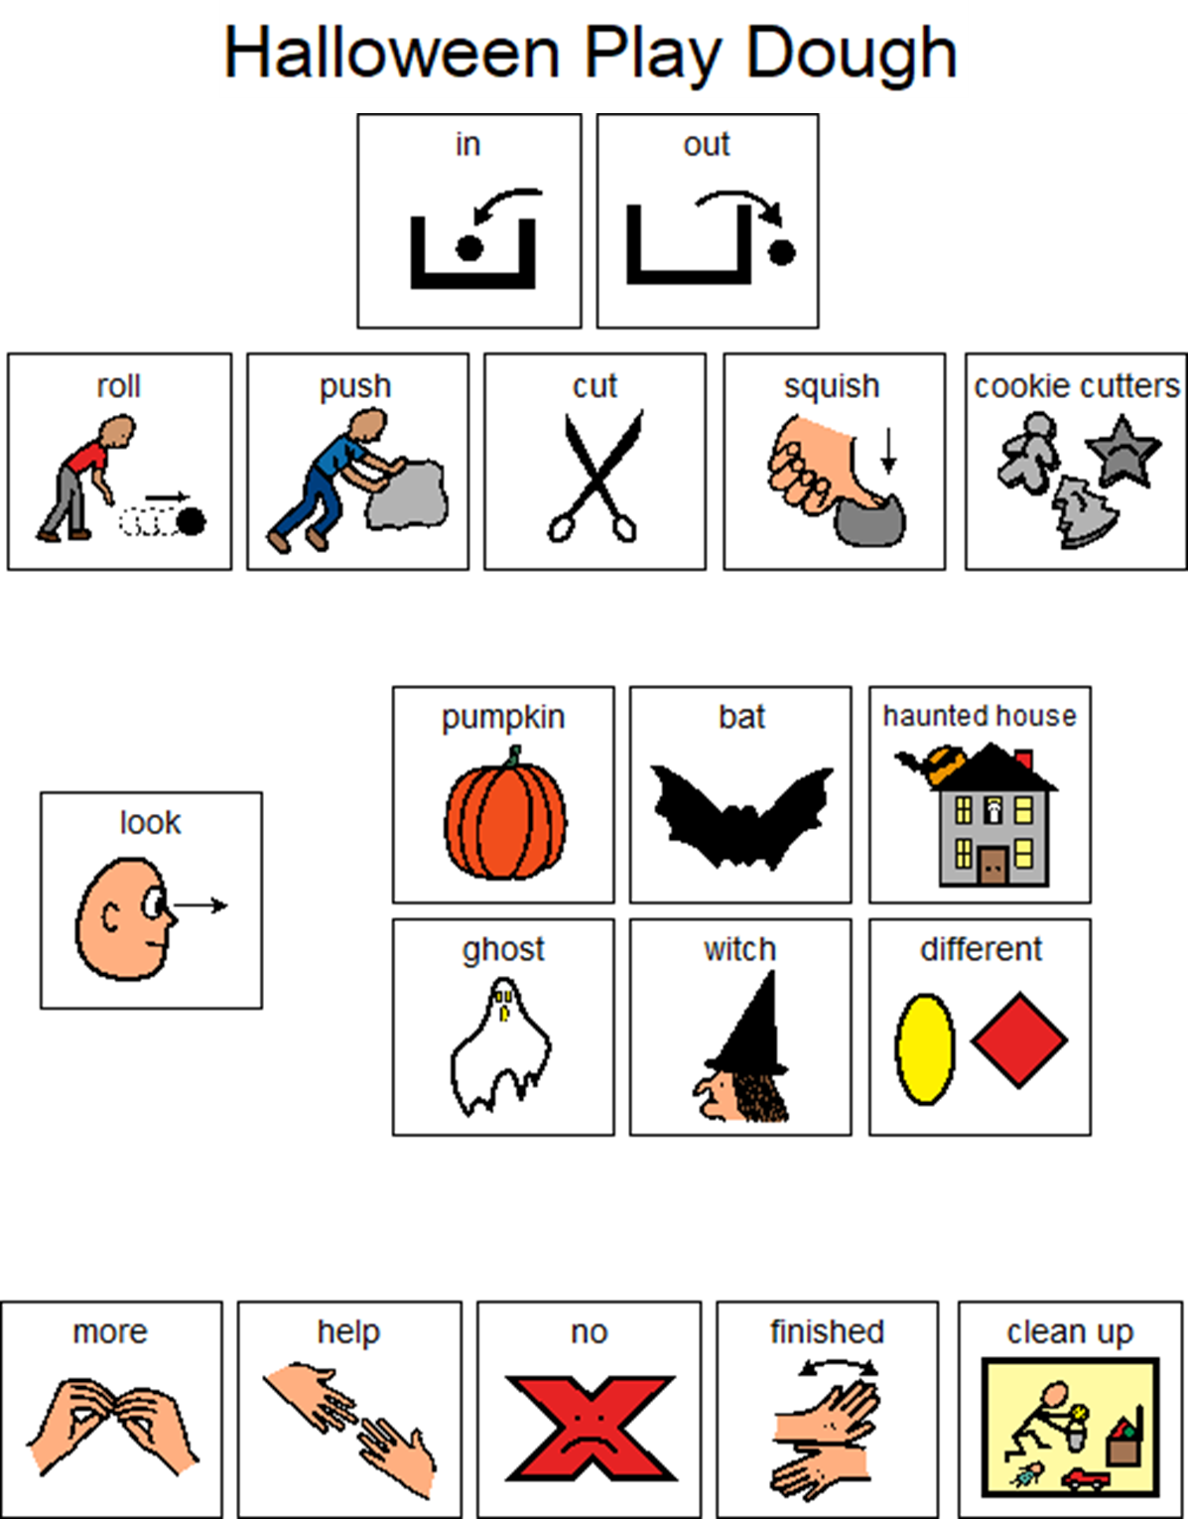
There is a lot of great vocabulary you can introduce while you make the dough as well as playing with the dough. Flour, salt, help, water, careful, hot, color names, mix, stir, knead, sticky, squish, roll, in, out, push, and more…the possibilities are endless.
Halloween-specific vocabulary:
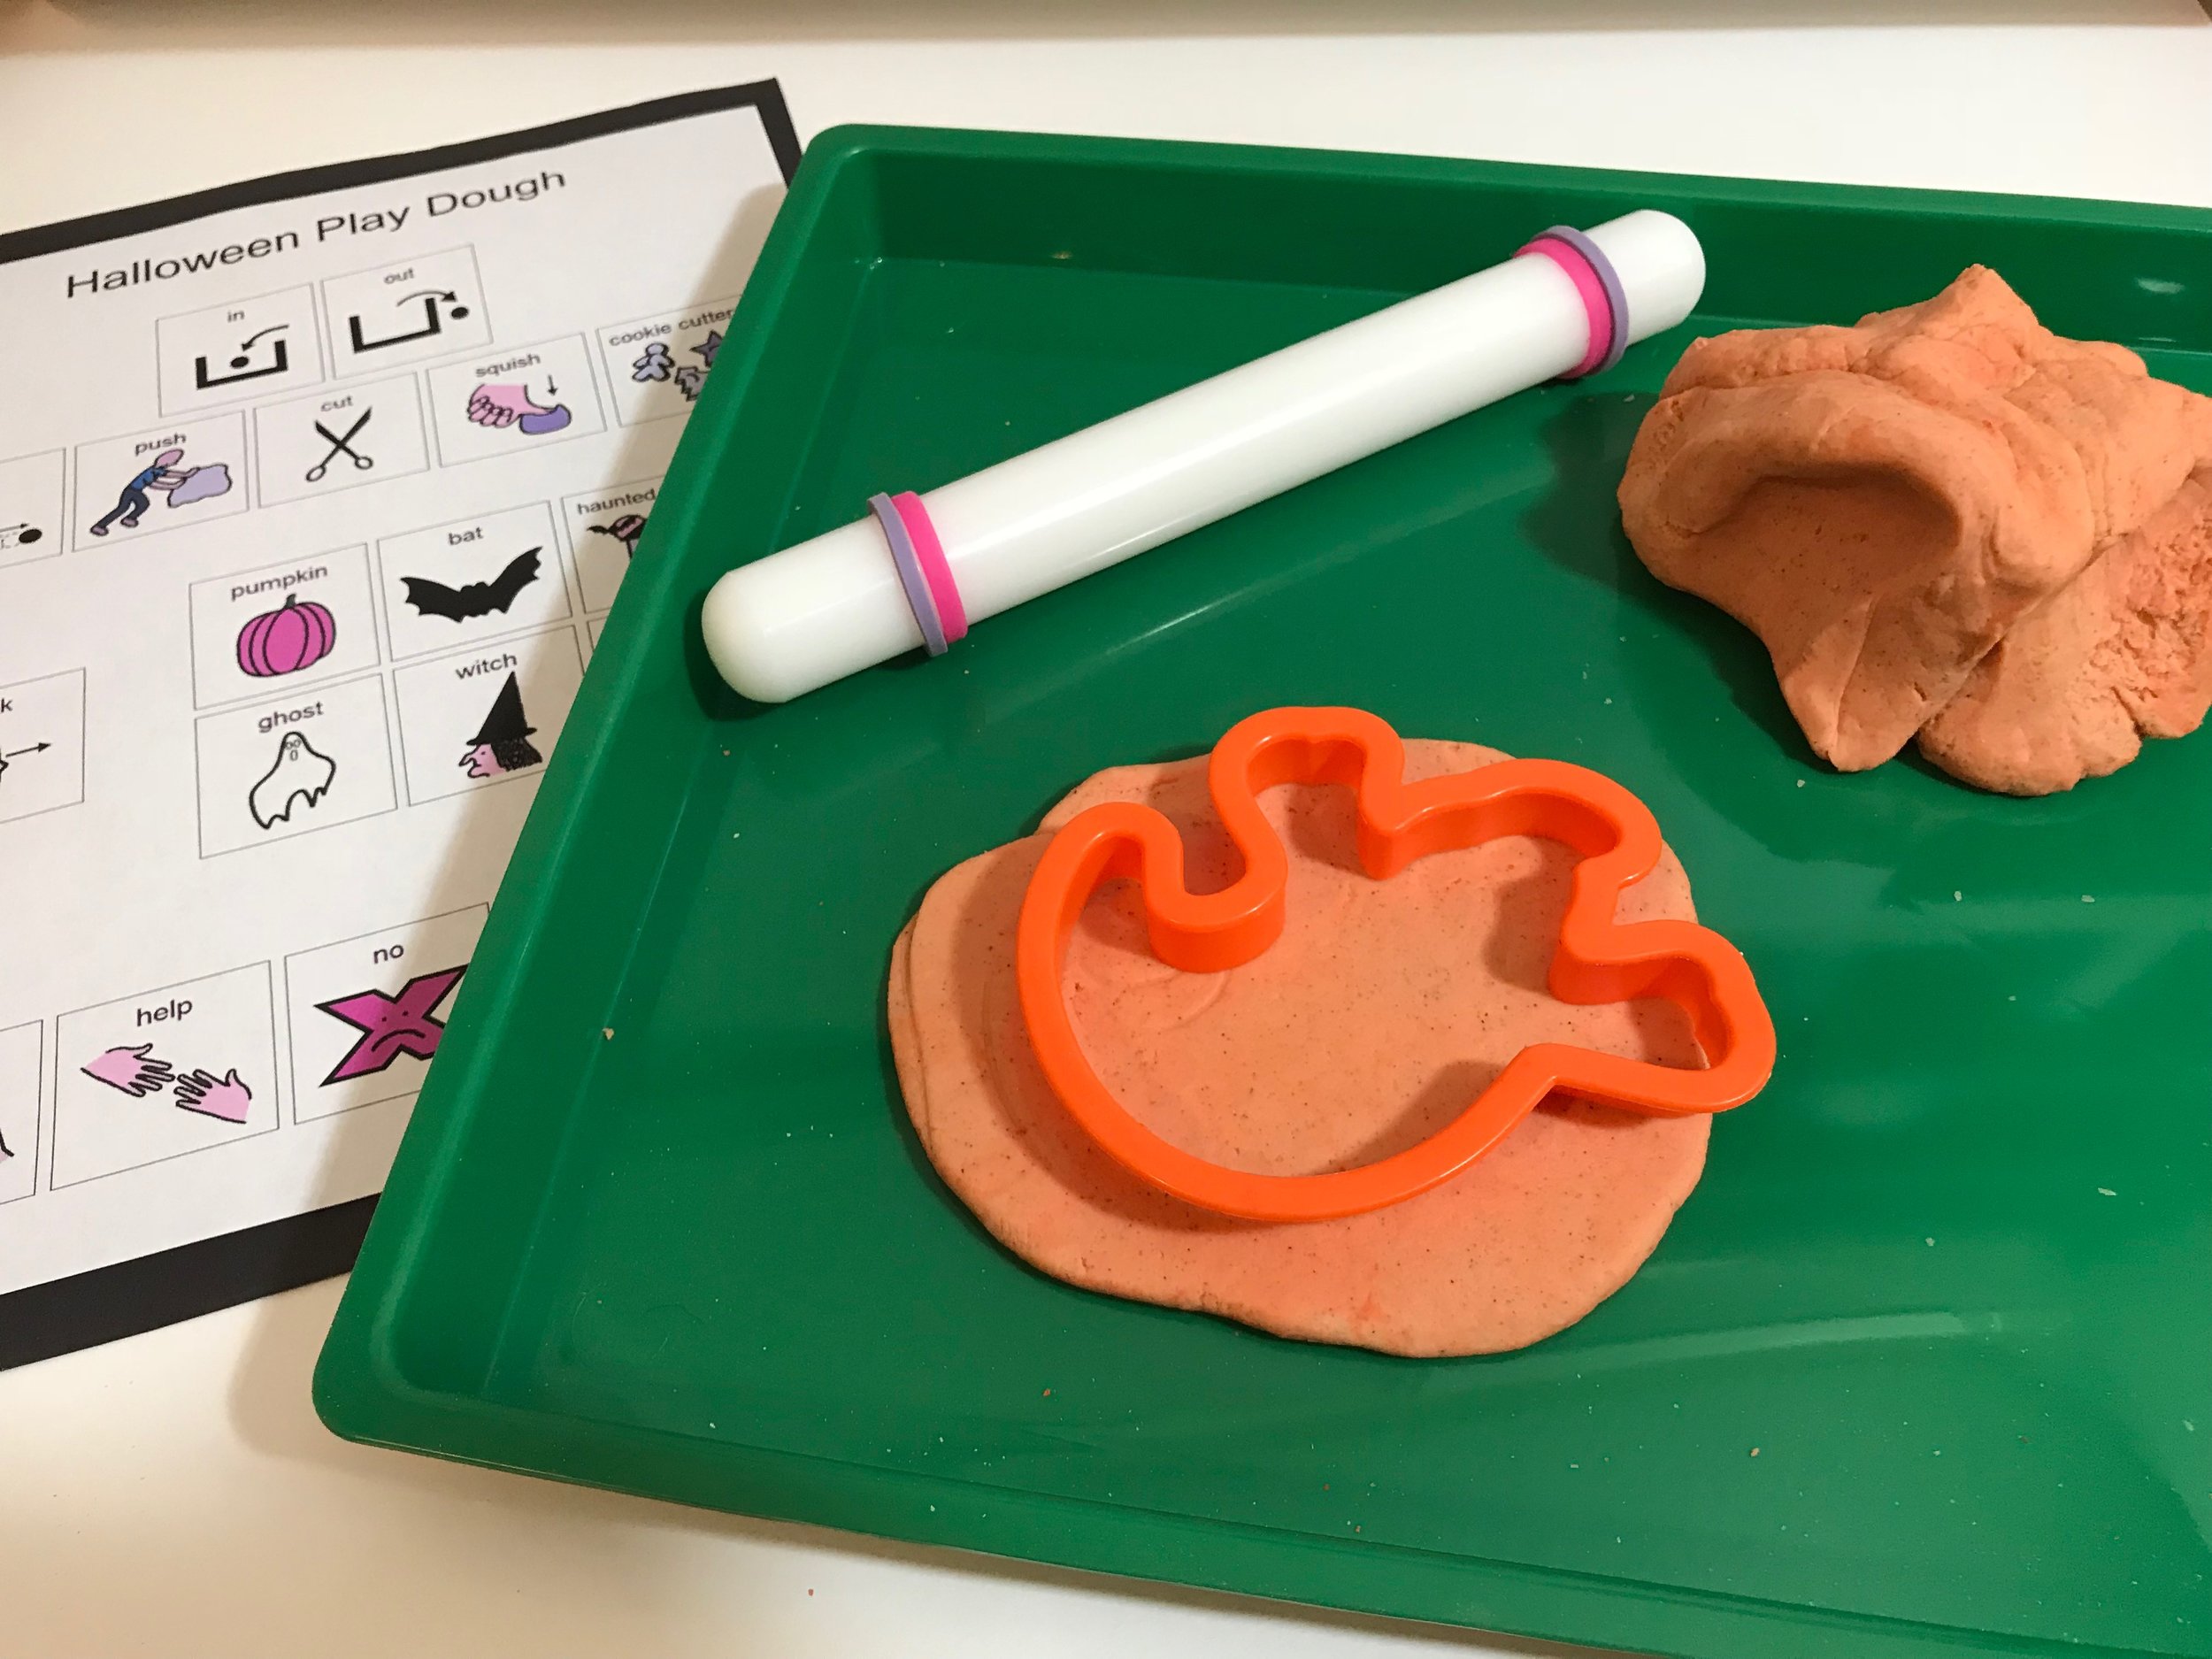
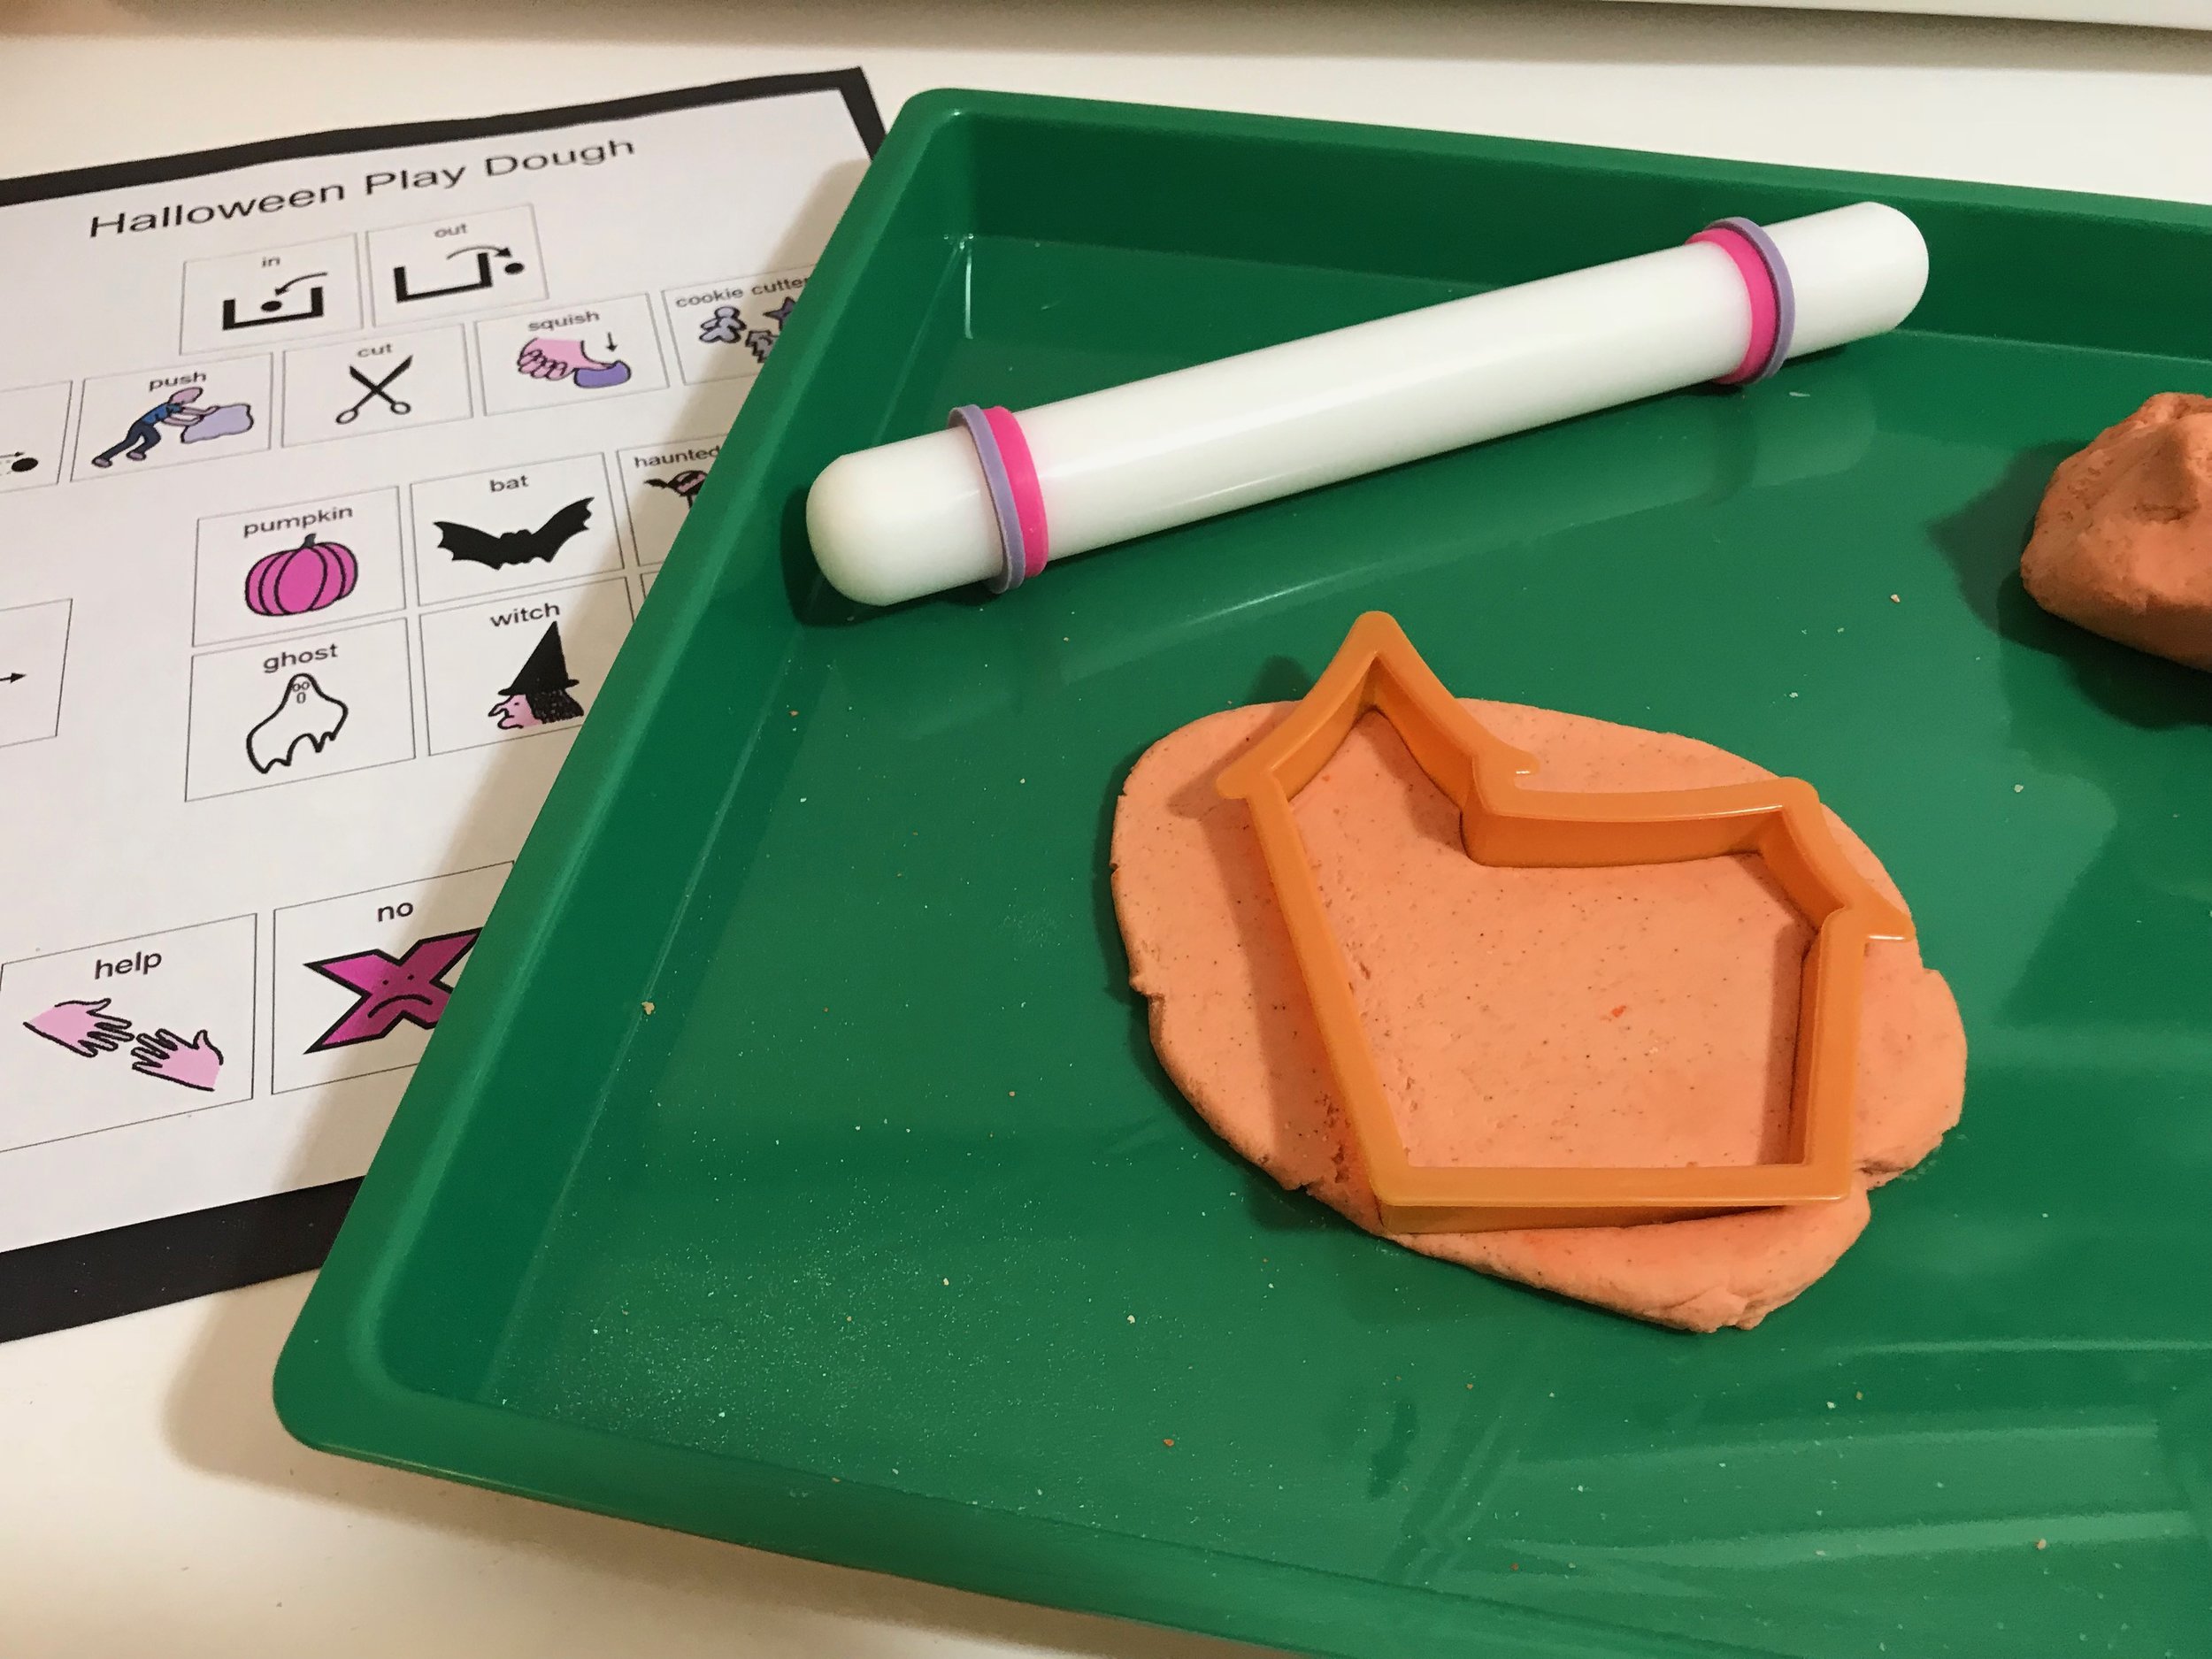
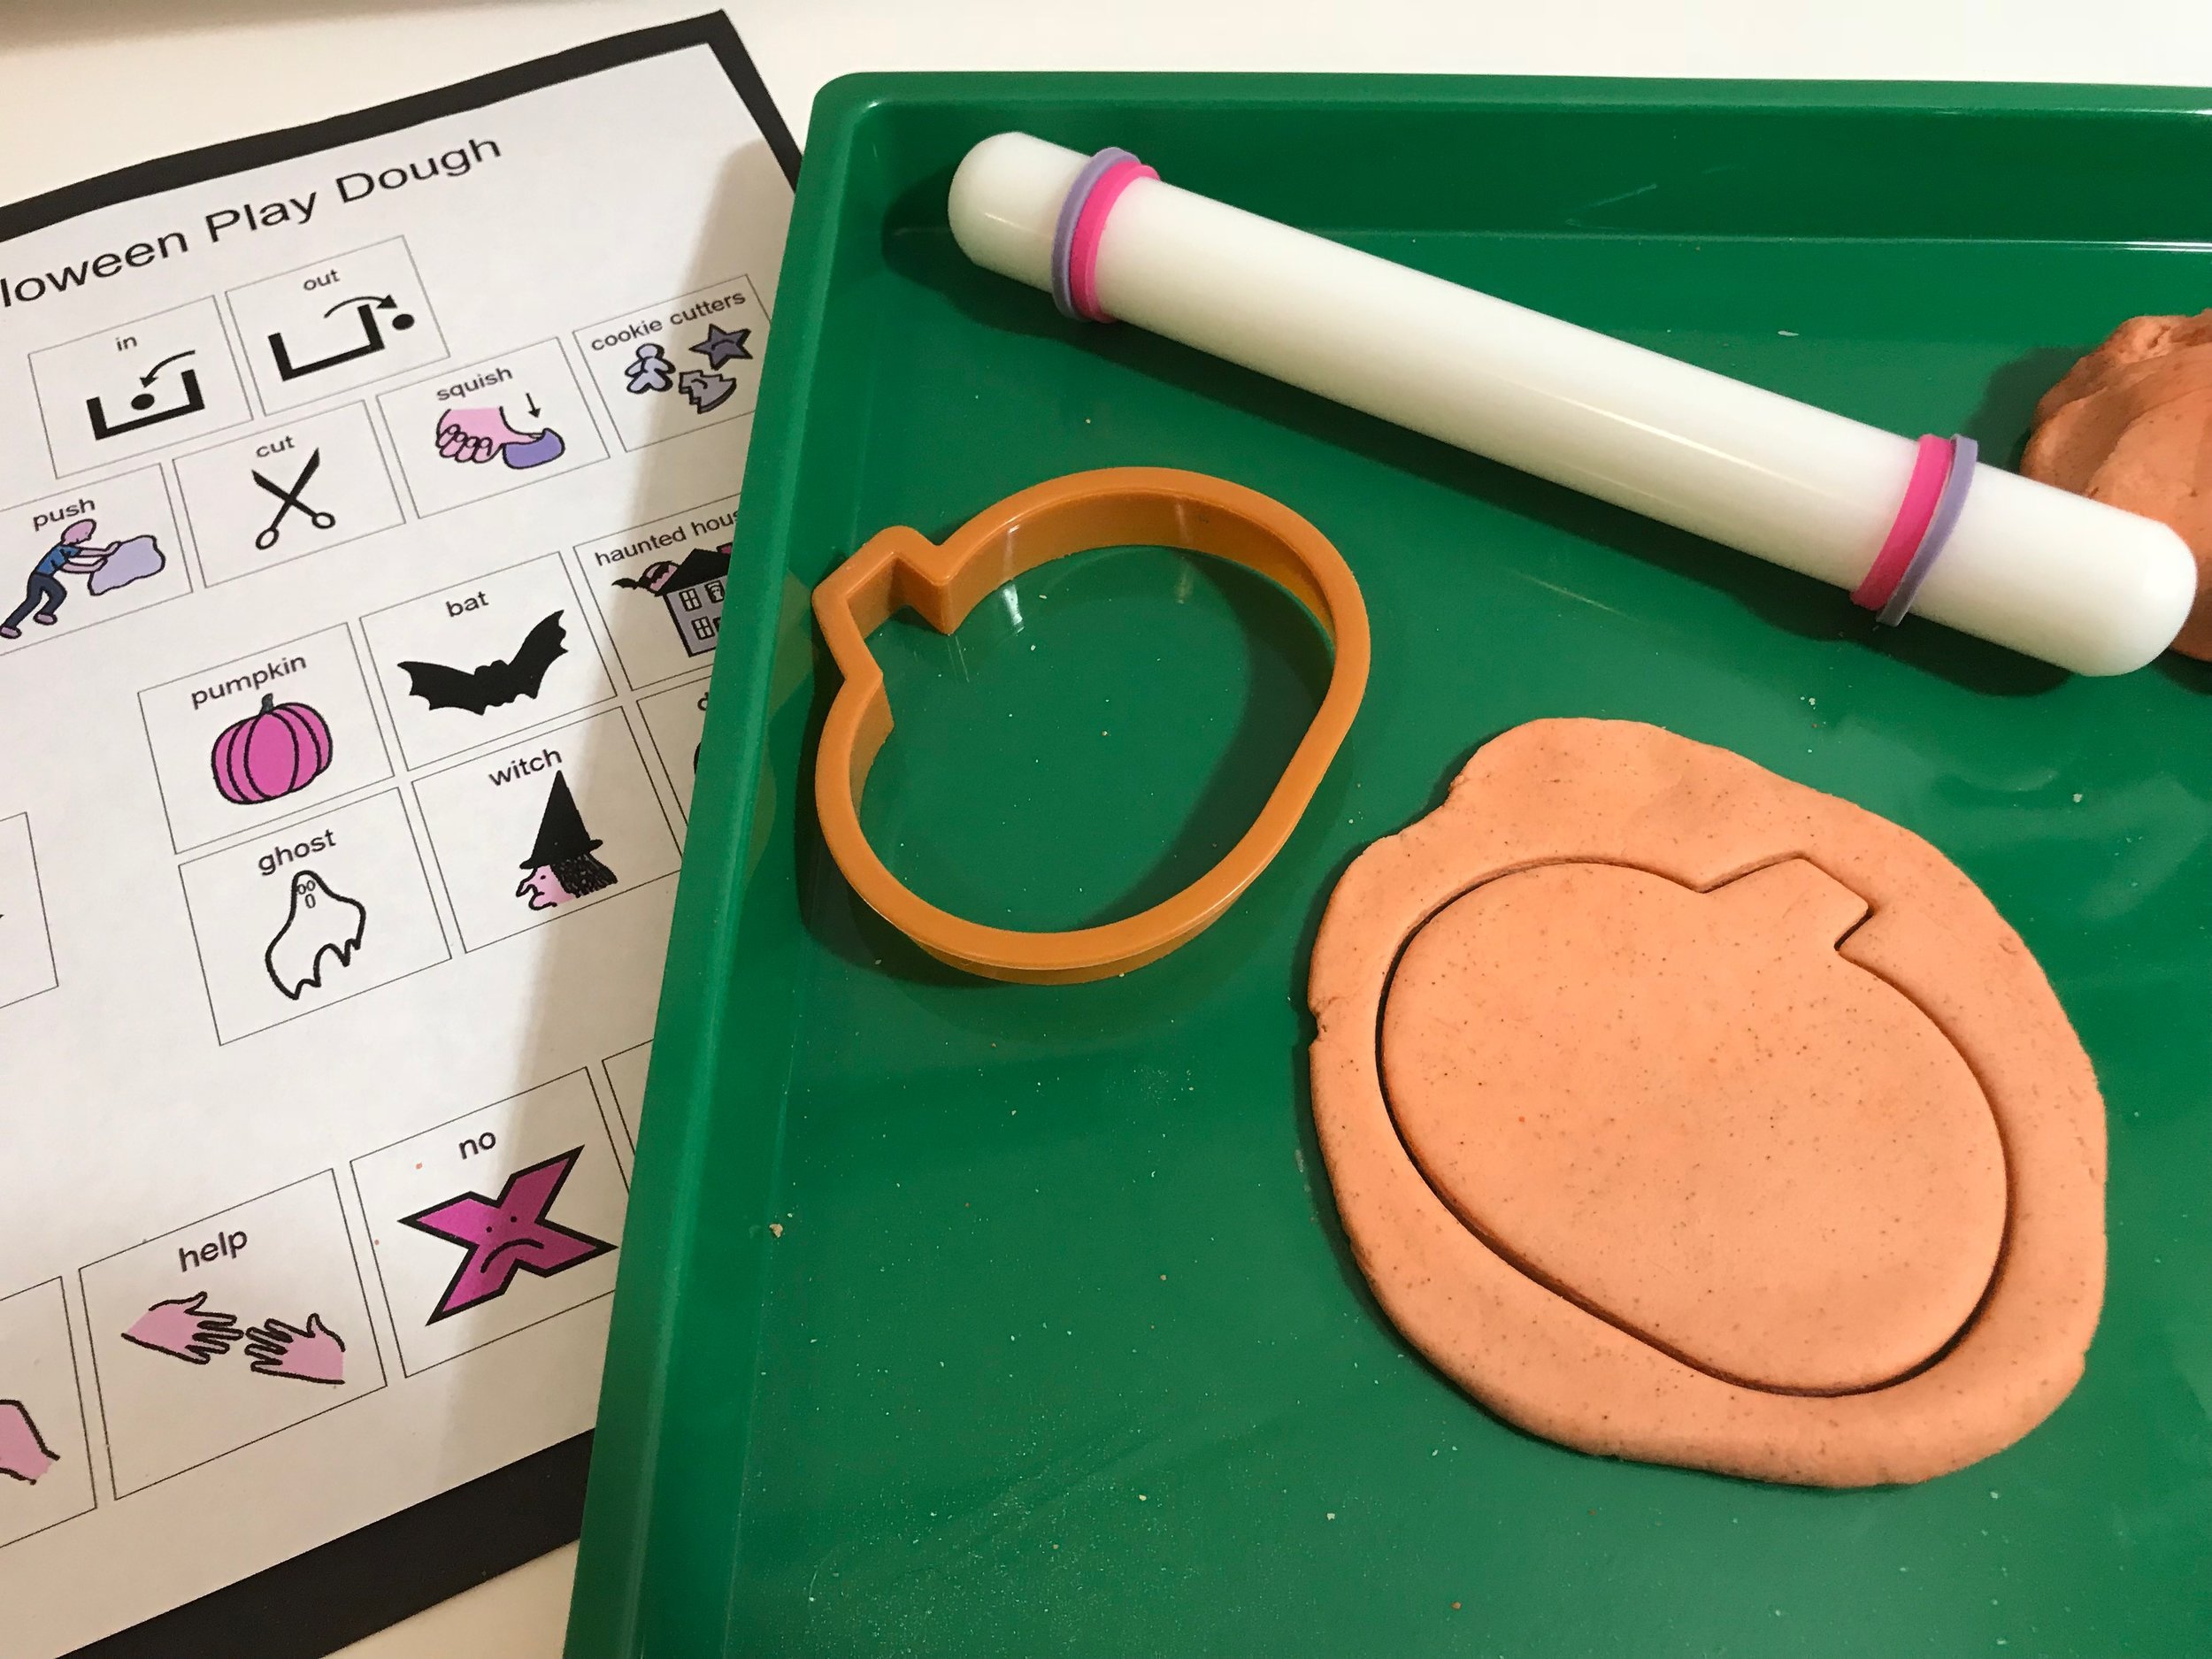
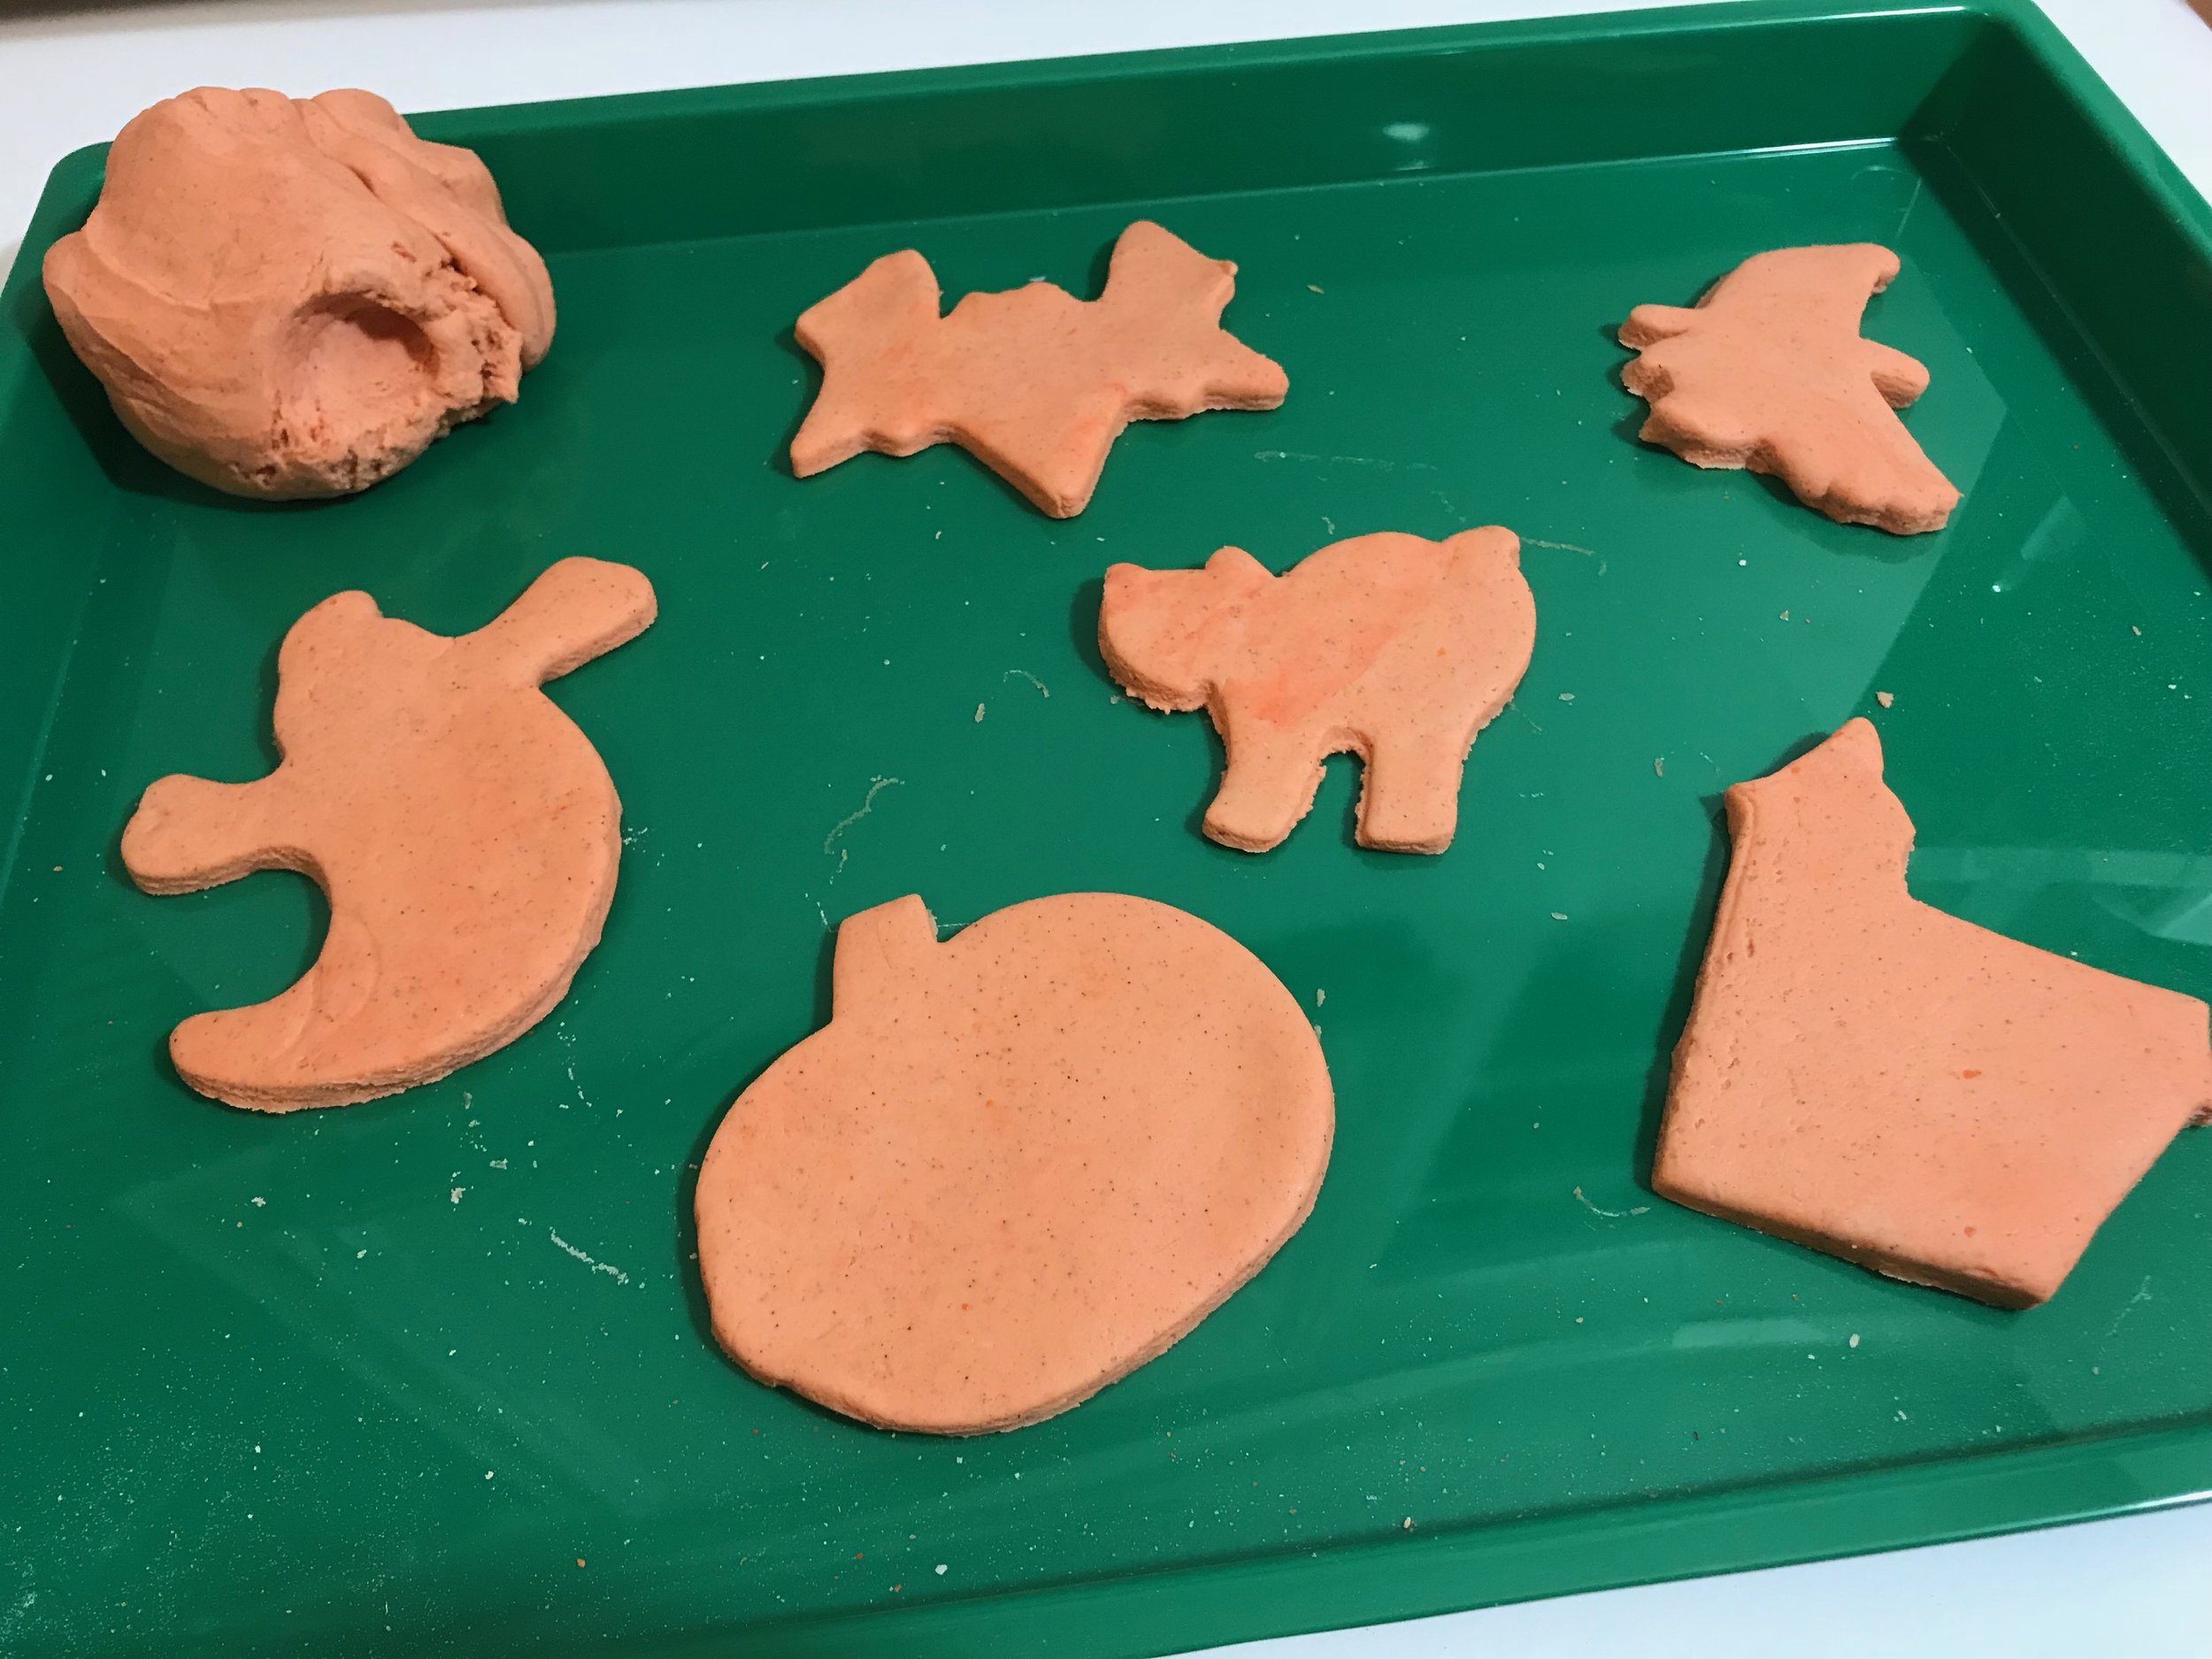
With a set of cookie cutters, you can introduce a lot of different Halloween vocabulary….ghost, bat, pumpkin, haunted house, and more. Even without cookie cutters, you can use your imagination and create these Halloween characters.
Play skills:
Creating shapes, characters, and more with play dough will help increase your child’s constructive play skills. You can also work on your child’s symbolic (pretend) play skills by pretending while using your child’s play dough creations (i.e., using a play dough ghost to play “pretend trick or treat”).
Requesting and making choices:
When playing with play dough, give your child multiple opportunities to request and make choices – i.e., “Mommy, I want the pumpkin cookie cutter”.
Directing attention:
As your child is playing with the dough, help him show others what he has created – i.e., “Look Daddy, I made a pumpkin!”
Older children:
This activity is great for sequencing, following directions, and describing how to do something. First, use a visual to talk about the steps you will soon perform. Be sure to use your sequencing words (i.e., first, next, then, last, finally, etc.). Then, help your child follow the recipe, stepping in when adult help is needed. After you’ve made the play dough together, help your child describe the steps to a peer, sibling, or other adult.
We hope this play dough activity helps put your family in the Halloween spirit while working on play and language skills. Happy Halloween!
Play dough recipe taken and modified from: http://www.notimeforflashcards.com/2008/01/playdough-recipes-i-love.html
~KidSpeak, LLC
The Picture Communication Symbols ©1981-2018 Tobbi Dynavox
are used under contractual agreement and were created by KidSpeak, LLC. All rights reserved worldwide.
